Personalized Herbal Lotions for Radiant Skin
- Lynne Pelletier
- Jul 10, 2025
- 5 min read
In a world where skincare products are abundant, finding the right one can feel overwhelming. Many people struggle with skin issues, from dryness to irritation, and often turn to commercial products that may not suit their unique needs. What if you could create your own personalized herbal lotion? This approach not only allows you to tailor the ingredients to your skin type but also ensures that you are using natural, nourishing elements.
In this blog post, we will explore the benefits of personalized herbal lotions, how to create your own, and some specific recipes to get you started. Let’s dive into the world of herbal skincare and discover how you can achieve radiant skin.
The Benefits of Herbal Lotions
Herbal lotions are made from natural ingredients, which can be gentler on the skin compared to synthetic products. Here are some key benefits:
Natural Ingredients: Herbal lotions often contain plant-based oils, extracts, and essential oils. These ingredients are rich in vitamins and antioxidants, which can help nourish and protect the skin.
Customizable: You can choose ingredients that specifically address your skin concerns. Whether you have dry, oily, or sensitive skin, you can create a lotion that works for you.
Eco-Friendly: By making your own lotion, you reduce waste from packaging and can choose sustainably sourced ingredients.
Cost-Effective: Creating your own herbal lotion can be more affordable than buying high-end skincare products.
Therapeutic Benefits: Many herbs have calming and healing properties. Using them in your skincare routine can provide additional benefits beyond just hydration.
Understanding Your Skin Type
Before you start creating your personalized herbal lotion, it’s essential to understand your skin type. Here are the main categories:
Dry Skin: This type often feels tight and may have flakiness. Look for ingredients like shea butter, coconut oil, and chamomile.
Oily Skin: Oily skin can appear shiny and may be prone to acne. Ingredients like jojoba oil, tea tree oil, and witch hazel can help balance oil production.
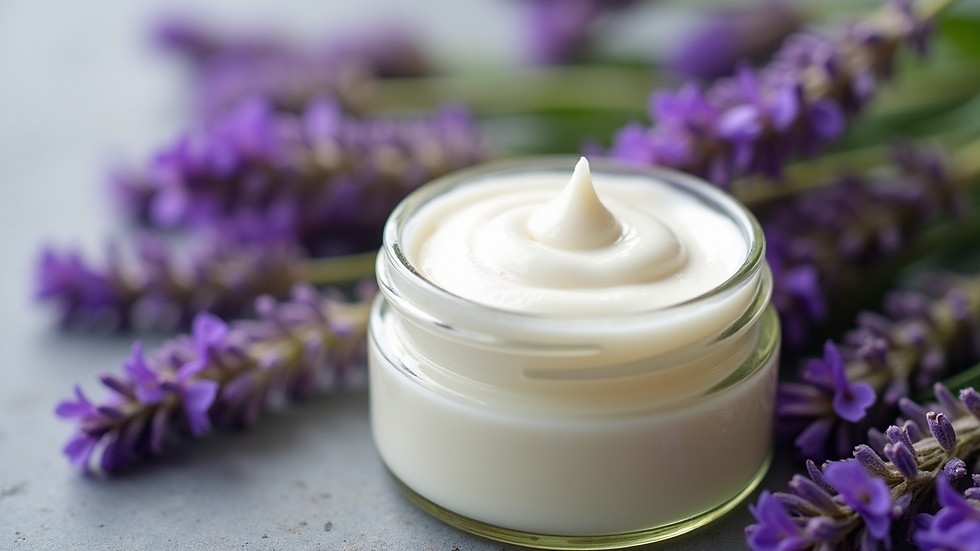
Sensitive Skin: If your skin reacts easily to products, choose gentle ingredients like aloe vera, calendula, and lavender.
Combination Skin: This type has both dry and oily areas. A balanced approach with a mix of ingredients is best.
Understanding your skin type will help you select the right herbs and oils for your personalized lotion.
Essential Ingredients for Herbal Lotions
Creating your herbal lotion requires a few key ingredients. Here’s a breakdown of what you will need:
Base Oils: These oils form the foundation of your lotion. Some popular options include:
Coconut Oil: Great for hydration and has antibacterial properties.
Sweet Almond Oil: Light and easily absorbed, perfect for all skin types.
Olive Oil: Rich in antioxidants and excellent for dry skin.
Butters: Adding a butter can give your lotion a creamy texture. Consider:
Shea Butter: Deeply moisturizing and soothing for dry skin.
Cocoa Butter: Provides a rich texture and is great for elasticity.
Herbal Infusions: You can infuse your oils with herbs to enhance their benefits. Some popular herbs include:
Calendula: Known for its healing properties.
Chamomile: Calming and anti-inflammatory.
Lavender: Great for relaxation and soothing irritated skin.
Essential Oils: These add fragrance and therapeutic benefits. Choose based on your skin needs:
Tea Tree Oil: Excellent for acne-prone skin.
Lavender Oil: Calming and good for all skin types.
Rosemary Oil: Stimulates circulation and is great for oily skin.
Emulsifiers: If you want a lotion that combines oil and water, you will need an emulsifier. Beeswax is a natural option that helps bind the ingredients together.
How to Create Your Personalized Herbal Lotion
Now that you have a good understanding of the ingredients, let’s walk through the steps to create your personalized herbal lotion.
Step 1: Gather Your Ingredients
Choose your base oil, butter, herbal infusion, essential oils, and emulsifier. Measure out the quantities based on your desired consistency.
Step 2: Prepare Your Herbal Infusion
If you are using dried herbs, you can create an herbal infusion. Here’s how:
Place your chosen herbs in a jar and cover them with your base oil.
Seal the jar and let it sit in a warm, dark place for about two weeks. Shake it occasionally.
After two weeks, strain the oil to remove the herbs.
Step 3: Melt Your Butters and Waxes
In a double boiler, melt your chosen butters and emulsifier. Stir until fully melted and combined.
Step 4: Combine Ingredients
Once melted, remove from heat and slowly add your herbal infusion. Stir well to combine.
Step 5: Add Essential Oils
Allow the mixture to cool slightly before adding your essential oils. This helps preserve their properties.
Step 6: Whip It Up
For a lighter texture, you can whip the mixture using a hand mixer. This step is optional but can create a fluffy lotion.
Step 7: Store Your Lotion
Transfer your lotion into clean, sterilized containers. Label them with the date and ingredients used.
Recipes for Personalized Herbal Lotions
Here are a few simple recipes to inspire you as you create your personalized herbal lotions.
Recipe 1: Calming Lavender Lotion
Ingredients:
1/2 cup coconut oil
1/4 cup shea butter
1/4 cup herbal infusion (lavender)
10 drops lavender essential oil
Instructions:
Melt the coconut oil and shea butter in a double boiler.
Remove from heat and stir in the lavender infusion.
Add lavender essential oil and mix well.
Allow to cool and store in a jar.
Recipe 2: Nourishing Chamomile Lotion
Ingredients:
1/2 cup sweet almond oil
1/4 cup cocoa butter
1/4 cup herbal infusion (chamomile)
5 drops chamomile essential oil
Instructions:
Melt the sweet almond oil and cocoa butter together.
Stir in the chamomile infusion and essential oil.
Mix well and pour into containers.
Recipe 3: Balancing Tea Tree Lotion
Ingredients:
1/2 cup olive oil
1/4 cup beeswax
1/4 cup herbal infusion (tea tree)
10 drops tea tree essential oil
Instructions:
Melt the olive oil and beeswax in a double boiler.
Stir in the tea tree infusion and essential oil.
Mix thoroughly and store in a jar.
Tips for Using Your Herbal Lotion
Once you have created your personalized herbal lotion, here are some tips for getting the most out of it:
Patch Test: Always do a patch test before applying a new lotion to your entire body. This helps ensure you do not have an allergic reaction.
Apply After Showering: For best results, apply your lotion after showering when your skin is still damp. This helps lock in moisture.
Store Properly: Keep your lotion in a cool, dark place to extend its shelf life. If you notice any changes in smell or texture, it’s best to discard it.
Use Regularly: Consistency is key for achieving radiant skin. Incorporate your herbal lotion into your daily skincare routine.
Embracing the Art of Herbal Skincare
Creating personalized herbal lotions is not just about skincare; it is an art form that allows you to connect with nature and your body. By understanding your skin type and choosing the right ingredients, you can craft lotions that nourish and rejuvenate your skin.
As you embark on this journey, remember that the process can be just as rewarding as the results. Experiment with different herbs and oils, and don’t be afraid to make adjustments based on your preferences.
With a little creativity and care, you can enjoy the benefits of radiant skin while embracing the beauty of natural ingredients.
Your skin deserves the best, and with personalized herbal lotions, you can give it the love and attention it needs. Happy crafting!


Comments